Workshop Stories
How to Craft A Ring in 8 Steps.
2025 – 01 – 02
Ever wondered how a simple piece of 18K Gold, Platinum or Sterling silver bar (S925) transforms into a stunning ring? At KOBO Jewellery, rings are crafted using the Tanzo method (forging) – making it durable to wear and long lasting.
In this article, we’ll take you through the eight essential steps of creating a ring and give you an inside look at the exciting journey that awaits you in KOBO’s Ring Making workshop!
Steps to making your own ring —
- Design Selection / Consultation
- Engraving
- Annealing
- Shaping
- Soldering
- Sanding
- Texturing
- Polishing
Lets begin the journey of ring making —
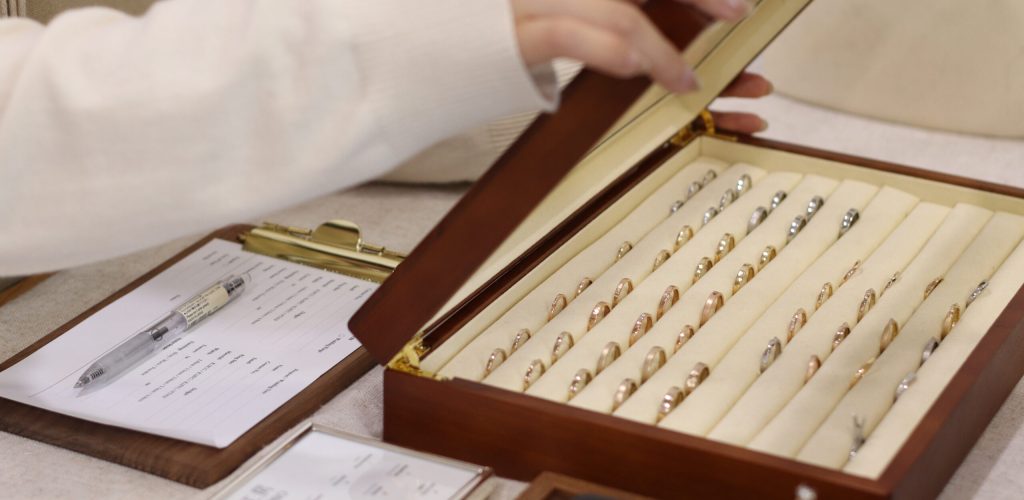
1. Design Selection/Consultation
At KOBO, we offer a diverse range of options to suit every style. Whether you’re captivated by the sleek elegance of Platinum or the radiant warmth of Gold, our selection of widths, unique designs, and 纹理 ensures you’ll find the perfect piece to match your aesthetic.
When you arrive at the workshop, you’ll start by selecting your design. Once that’s locked in, it’s time to slip on an apron and get gong-ing!
2. Engraving
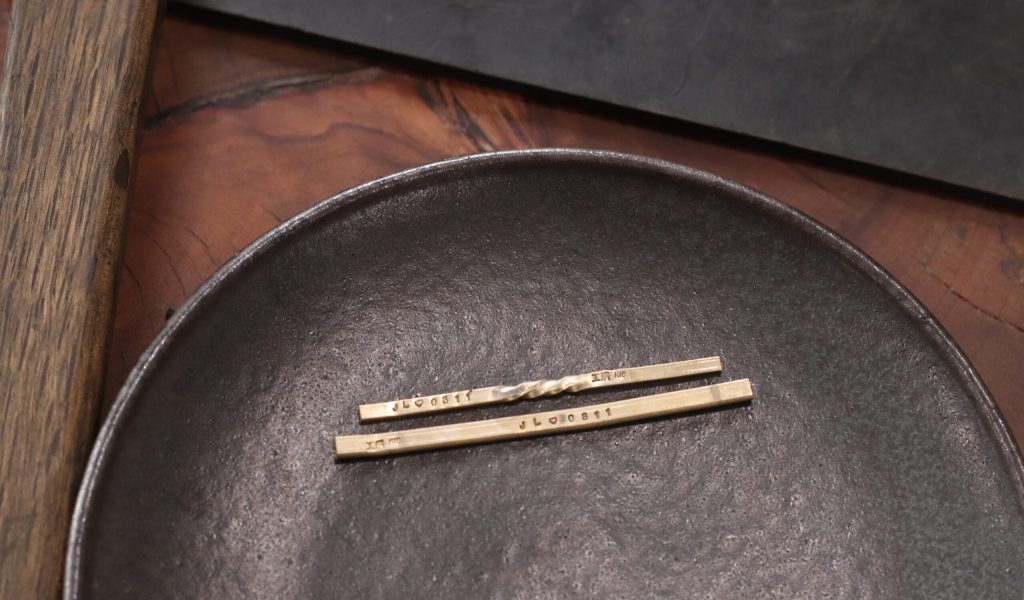
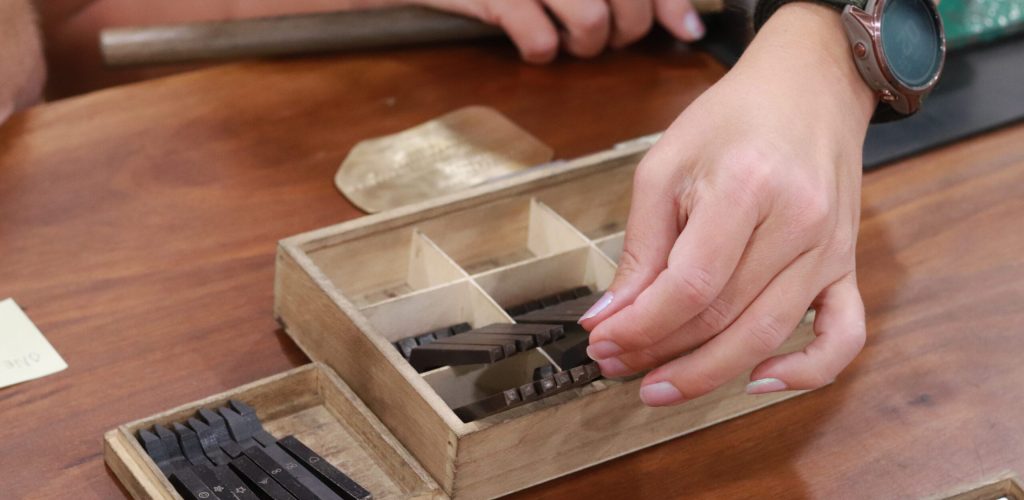
The first step—and arguably the most fun—is engraving! In this part of the process, you’ll have the chance to add a personal touch by stamping a special message on the inside (or outside) of your ring, using a variety of stamps available at KOBO.
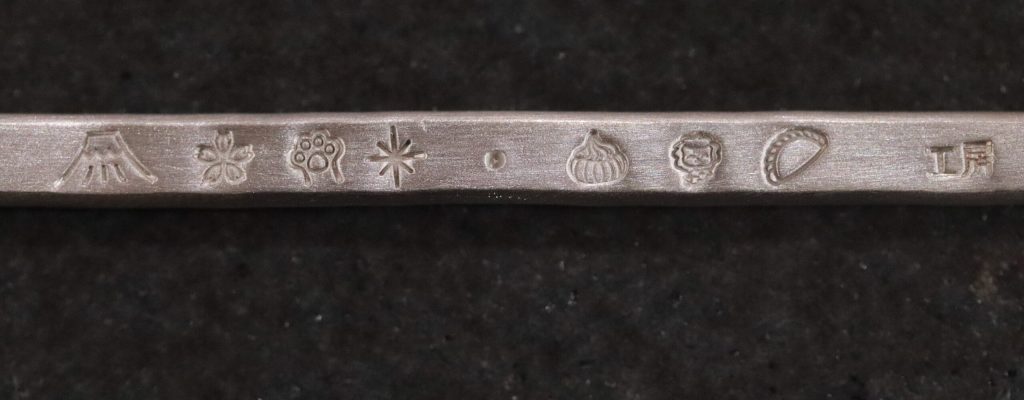
KOBO’s collection of stamps—featuring special designs like Mt. Fuji, Sakura Petals, and Twinkling Stars—were crafted by our Japanese artisan, Shindo-san, bringing a touch of traditional craftsmanship to every piece.
For tourists seeking a memorable souvenir that captures the essence of Singapore, we offer exclusive stamps inspired by Singapore’s culture like the Merlion, Gem Biscuit, and Curry Puff.
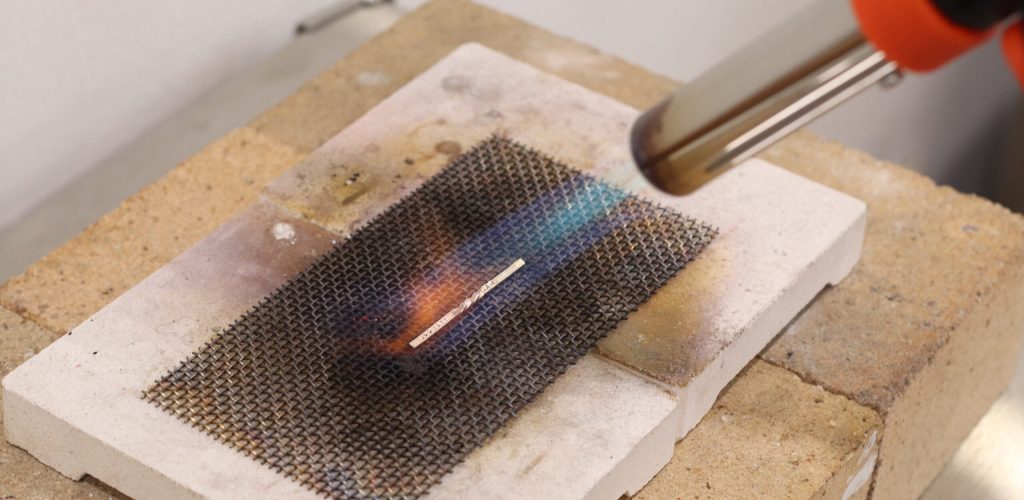
3. Annealing
A unique property of metals is their ability to harden through repeated working, such as engraving or hammering. To restore malleability before shaping, the metal bar is gently heated to a glowing orange hue in a process called annealing.
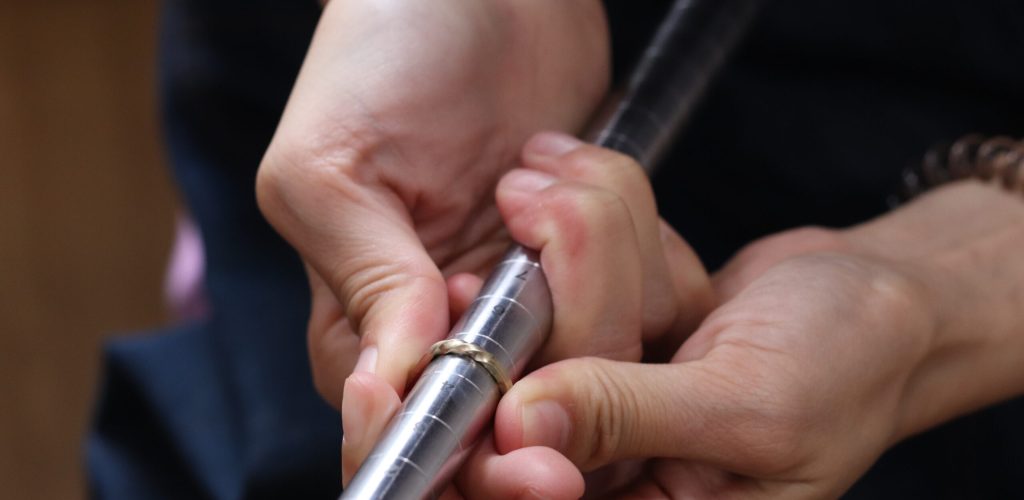
4. Shaping
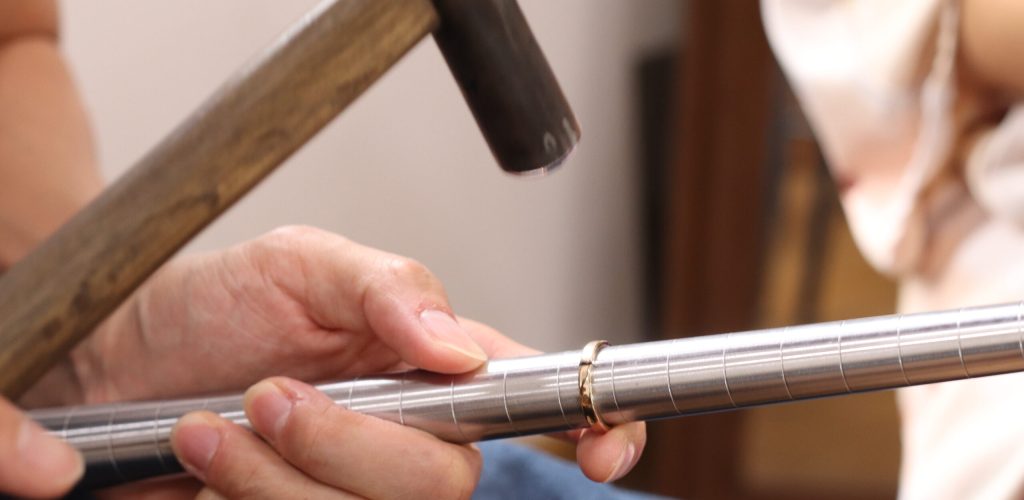
Once the silver bar has been softened, the ring will be shaped on a stainless steel mandrel by gently pushing both ends to create a tear-drop shape. The ends will then be hammered to round the ring into a circle.
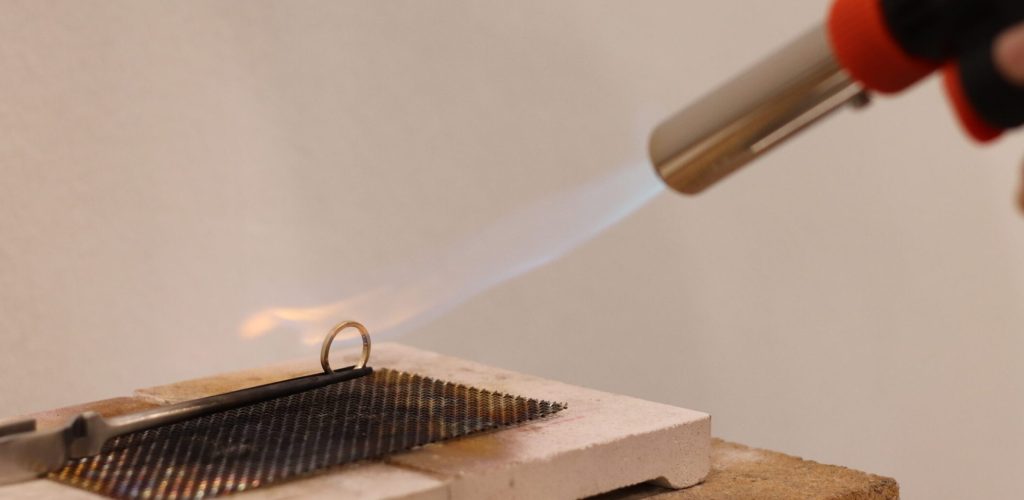
5. Soldering
Once the ring is adjusted, a small piece of gold/platinum or silver called solder is placed at the seam. The solder is then heated to fuse the ends together, fully closing the gap in a process known as soldering.
6. Sanding
During soldering, the solder leaves excess bumps on the surface. Sanding helps to remove these excess and visible scratches in preparation for the next step.
7. Texturing
A fan-favorite step, texturing is where the ring’s surface is transformed with a unique pattern by hammering it with different types of hammers, each creating its own distinctive texture.
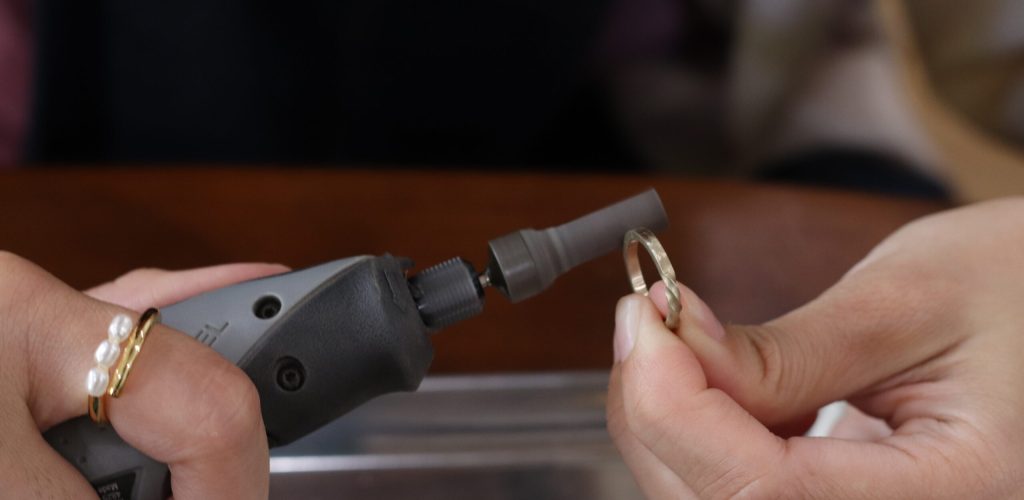
8. Polishing / Mattifying
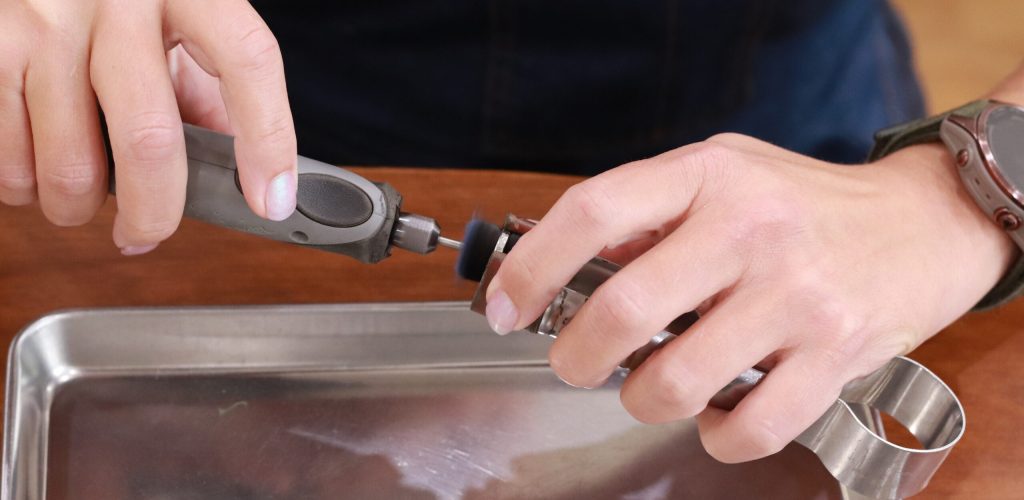
We’re now nearing the final step of the ring-making process: polishing or mattifying! This gives your ring a shiny finish, or a matte look, depending on your preference. Both finishes are achieved using different attachments to create the perfect effect.
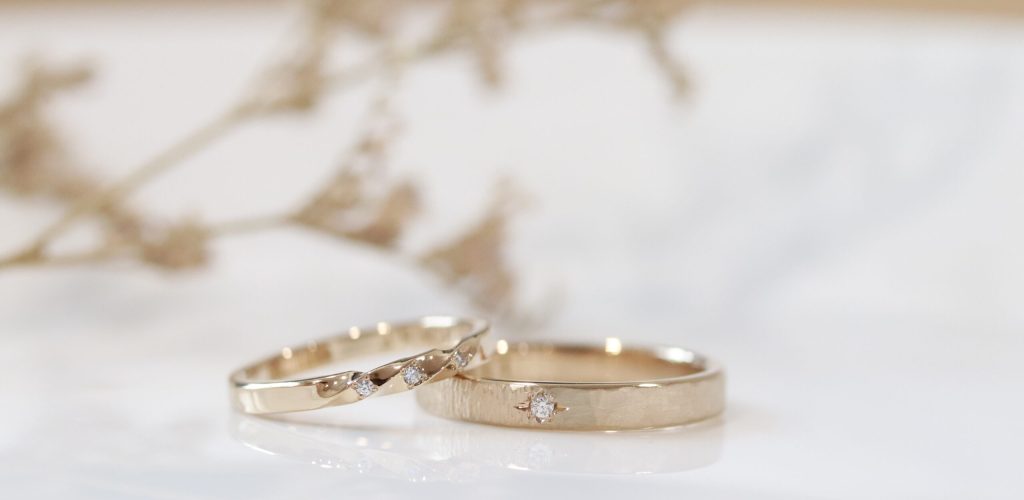
Caption: If you’re torn between two textures, you can even choose a half-and-half design! And for a more subtle look, you can texture just the sides of the ring for a unique yet understated finish.
-
For those interested in adding melee diamonds or precious gemstones, the rings will be sent to our Atelier in Japan, where skilled craftsmen will set the desired stones. Please note that this service requires a lead time of 4 to 6 weeks.
-
Congratulations! You now know how to create a ring via forging method. Ready to put your new skills to the test and craft your own unique piece?
Book your spot in our workshop today and experience the joy of creating something truly one-of-a-kind. Whether you’re a first-timer or an experienced maker, we’re here to guide you through every step of the process. We can’t wait to see your creativity shine!